
Flows Settings
2024/03/07
This chapter describes how to set up the talk content to be stored from the Talk Log to Task as well.
These settings are not required.
Please configure the settings if necessary according to your usage environment.
Goal: The contents of the talk stored in the Talk Log are stored in the Task.
Flows
1. Click the gear icon at the top right of the screen - [Setup] - [Flows].
* Alternatively, search for “Object Manager" with a quick search
2. Click "New Flow" button
3. Select "Record-Triggered Flow" in "New Flow" and click "Create" button.
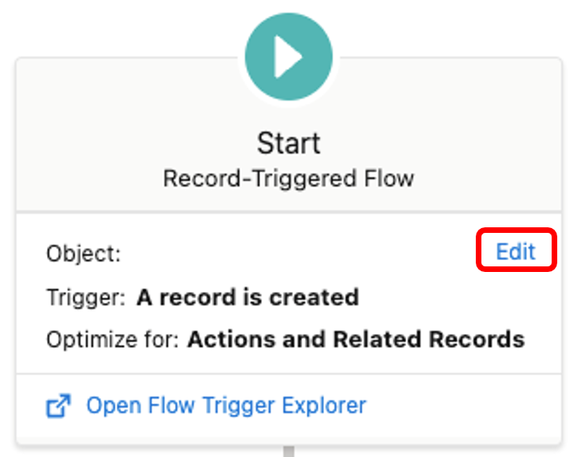
4. A new window "Configure Start" will be launched,
If the window is closed, you can open it by clicking the "Edit" link.
5. Select and enter the following
[Object] – [Talk Log]
[Trigger the Flow When :] – [A record is created]
[Condition Requirements] – [None]

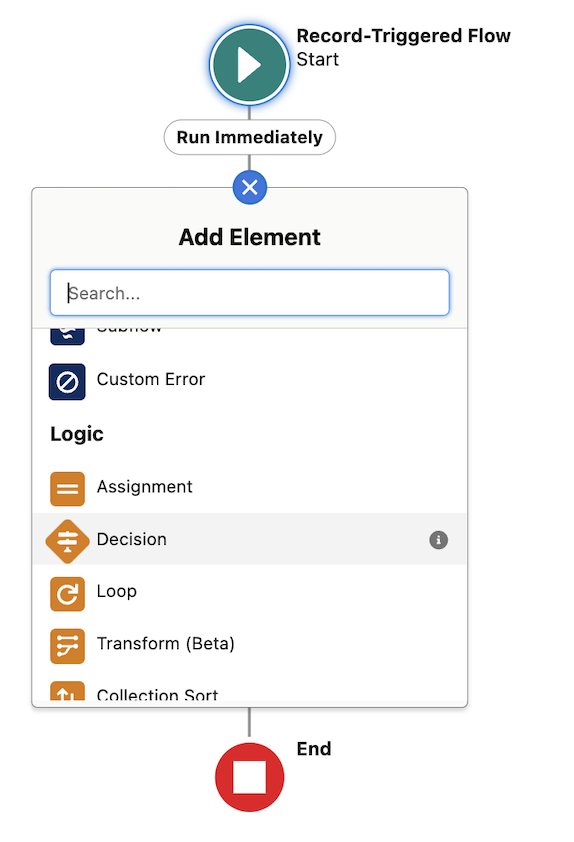
6. Click Add Element (+)
7. Click on "Decision"
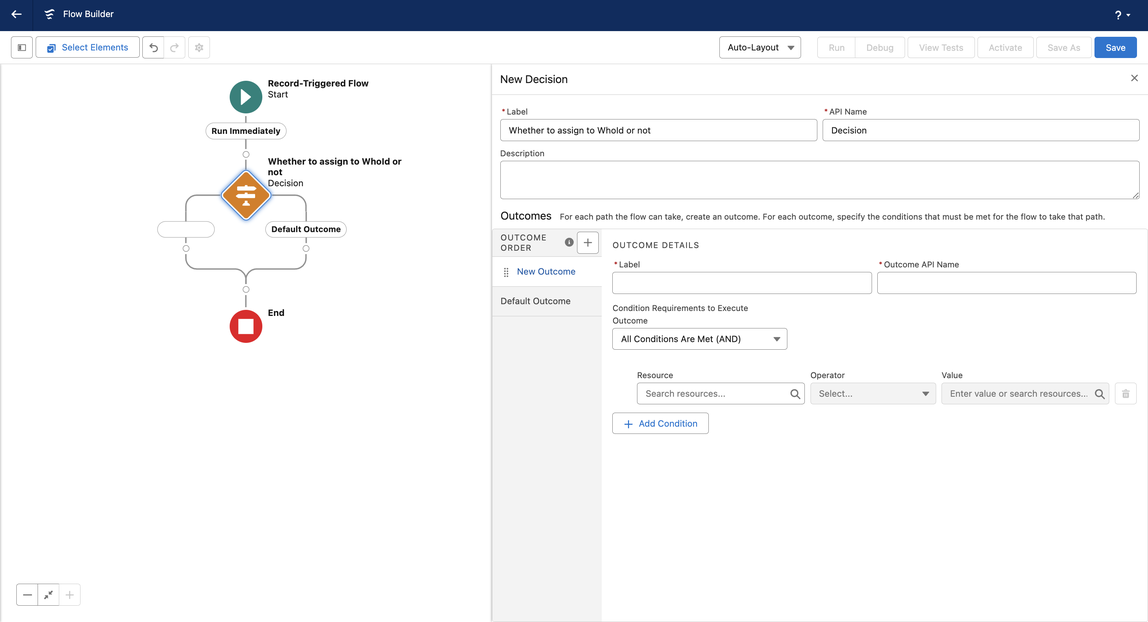
8. Enter the following information in "New Decision".
[Label] – [Whether to assign to WhoId or not]
[API Name] – [Decision]
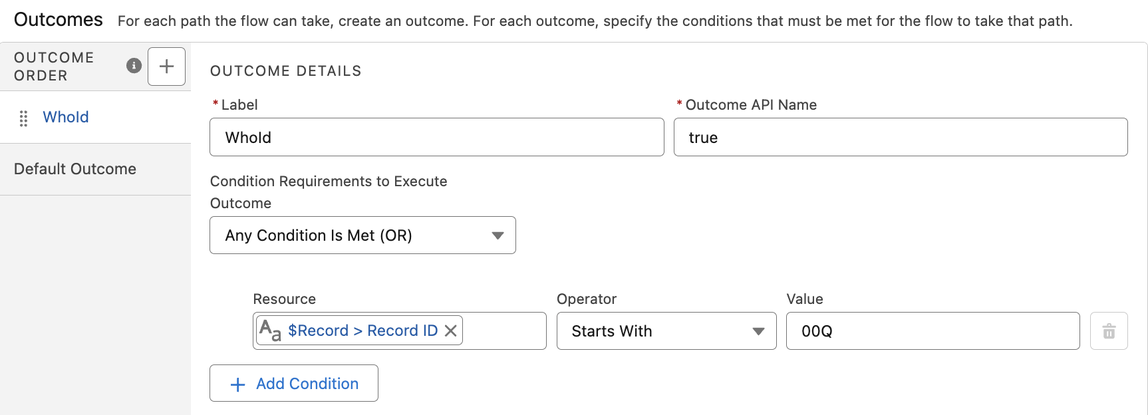
9. Select and enter the following information in "Outcomes".
[Label] – [WhoId]
[Outcome API Name] – [true]
[Condition Requirements to Execute Outcome] – [Any Condition Is Met (OR)]
[Resource] – [{!$Record.palw__RecordId__c}]
[Operator] – [Starts With]
[Value] – [00Q]
10. Click on "Add Condition", select and enter the following
[Resource] – [{!$Record.palw__RecordId__c}]
[Operator] – [Starts With]
[Value] – [003]
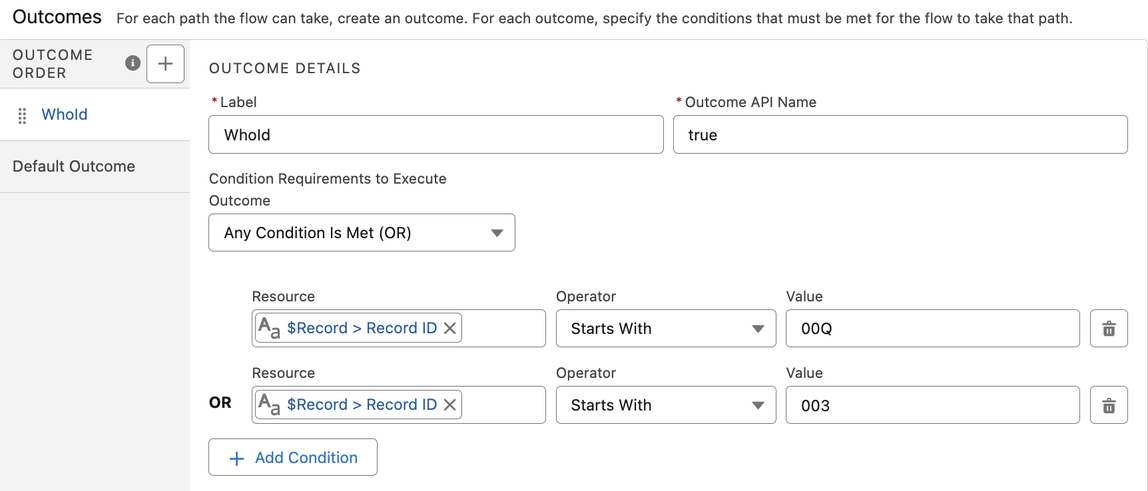
11. Click on "Default Outcome", enter the following
[Label] – [WhatId]

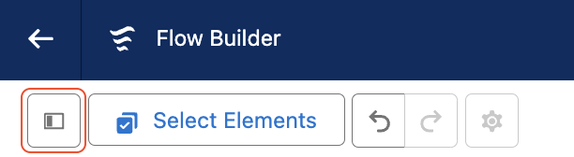
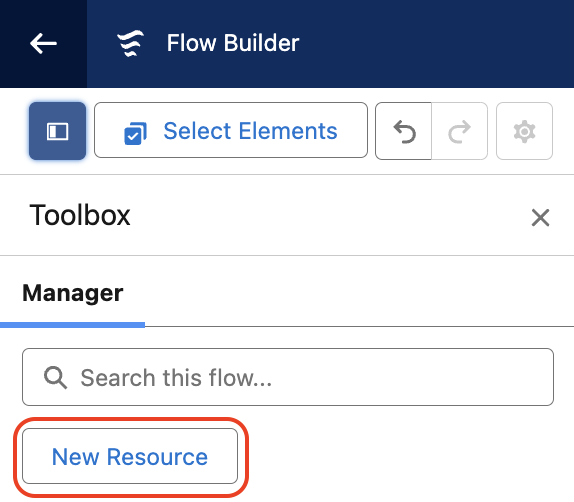
12. Click on the "New Resource" button in the upper left corner of the screen.
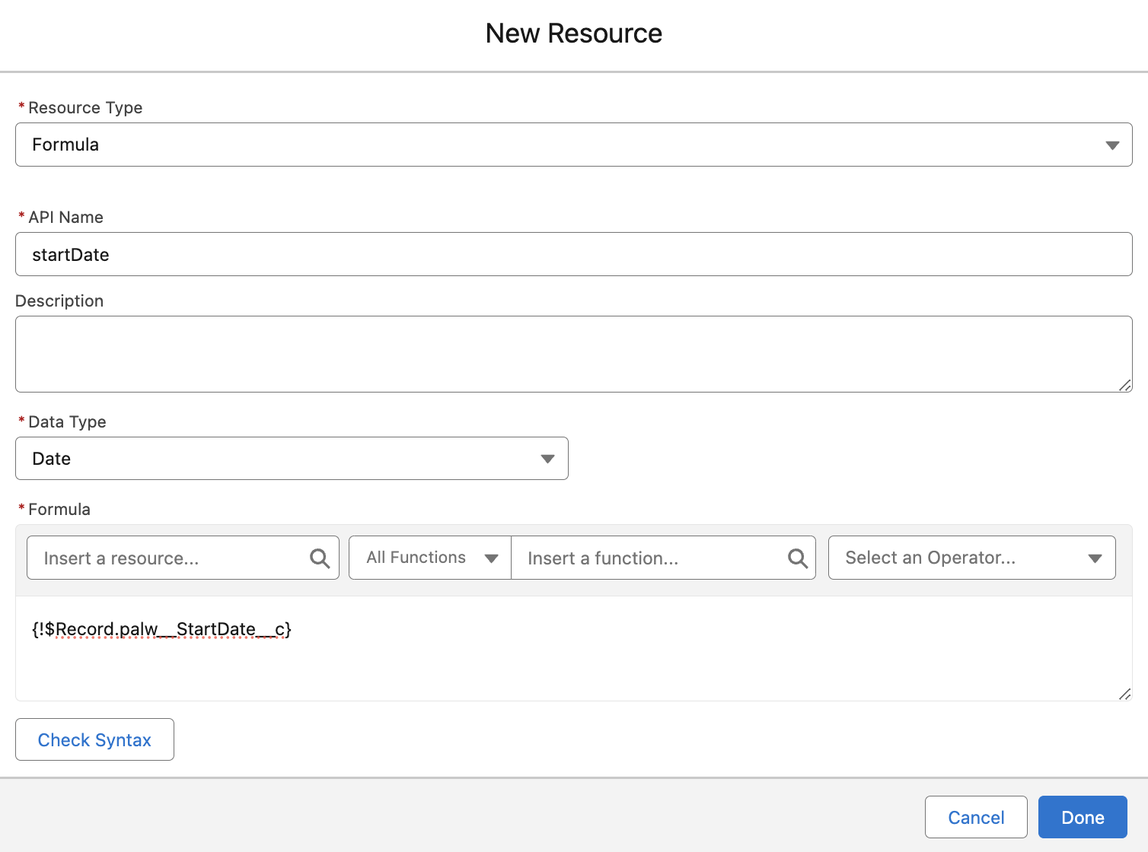
13. Select and enter the following information in "New Resource".
[Resource Type] – [Formula]
[API Name] – [startDate]
[Data Type] – [Date]
[Formula] – [{!$Record.palw__StartDate__c}]
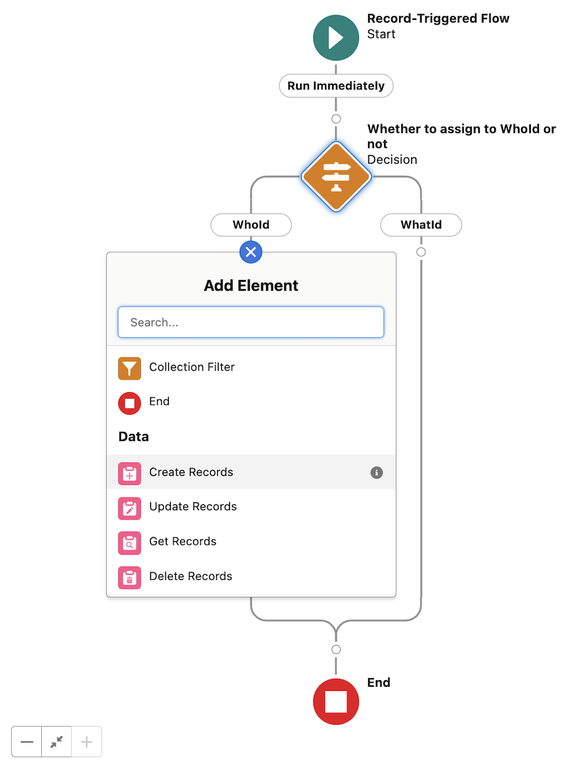
14. Click on the [+] button in the "WhoId" branch and Click on "Create Records".
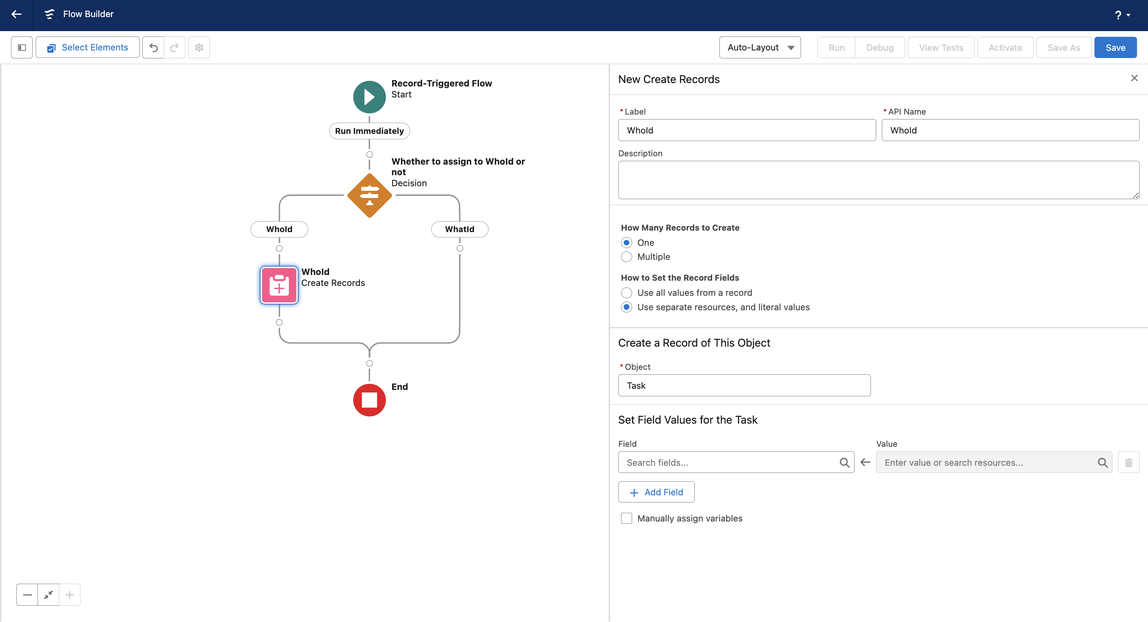
15. Select and enter the following information in "New Create Records".
[Label] – [WhoId]
[API Name] – [WhoId]
[How Many Records to Create] – [One]
[How to Set the Record Fields] – [Use separate resources, and literal values]
[Object] – [Task]
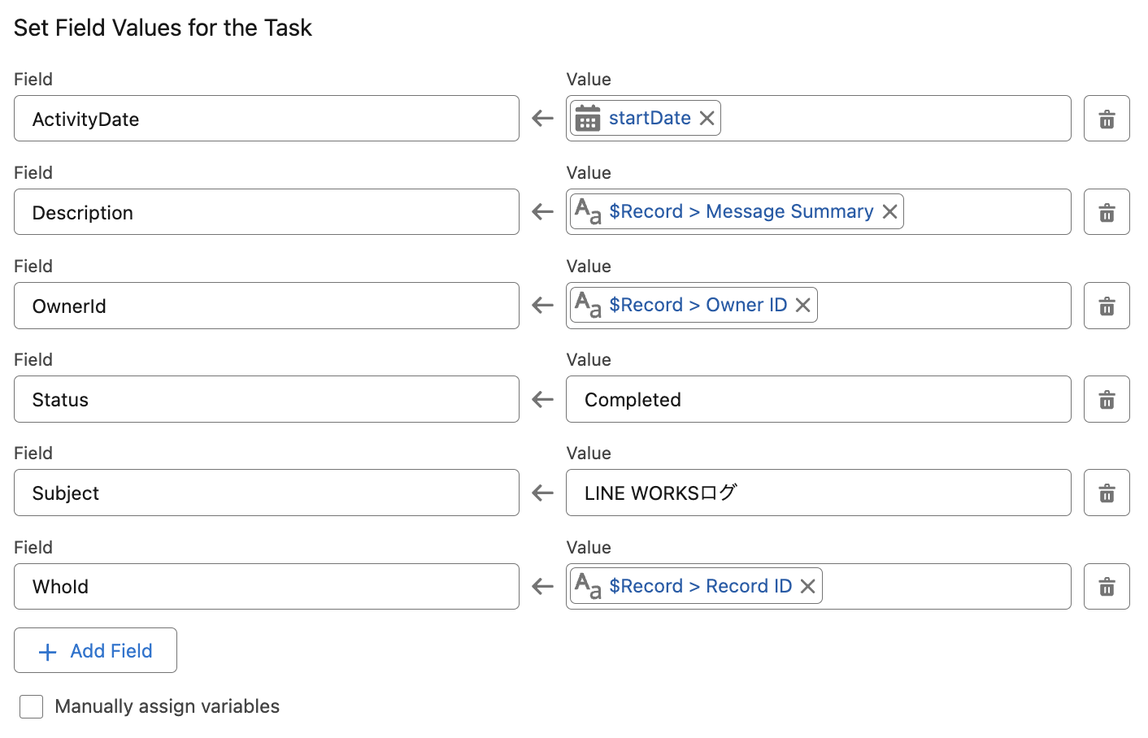
16. Select and enter the following information in "Set Field Values for the Task".
●[Field] – [ActivityDate]
[Value] – [{!startDate}]
●[Field] – [Description]
[Value] – [{!$Record.palw__MessageSummary__c}]
●[Field] – [OwnerId]
[Value] – [{!$Record.OwnerId}]
●[Field] – [Status]
[Value] – [Completed]
●[Field] – [Subject]
[Value] – [LINE WORKSログ]
●[Field] – [WhoId]
[Value] – [{!$Record.palw__RecordId__c}]
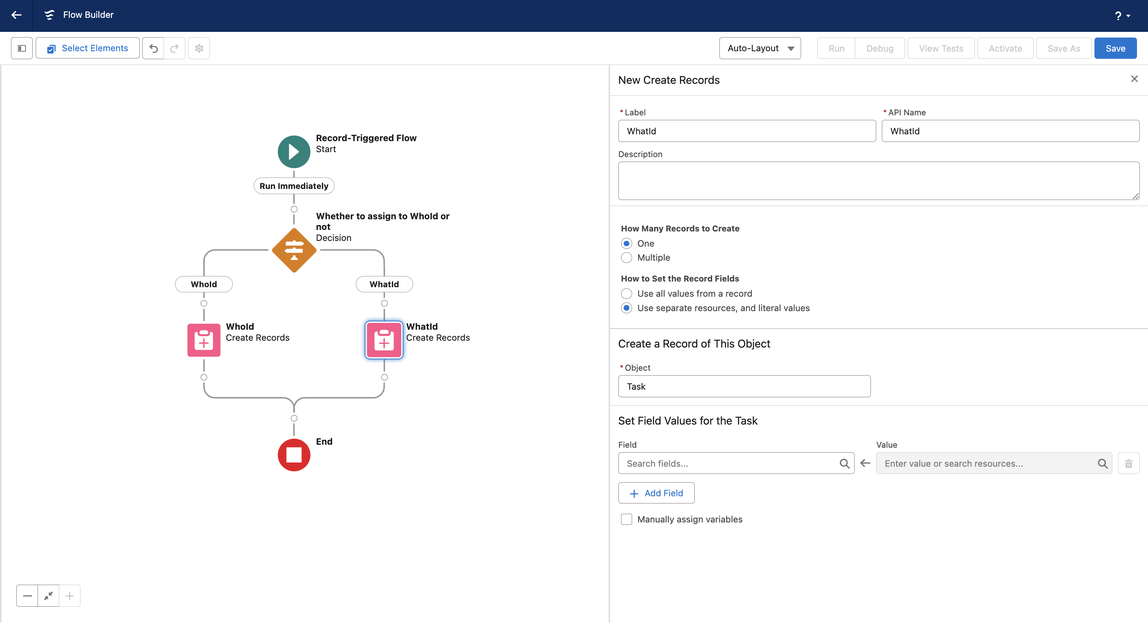
17. Click on the [+] button in the "WhatId" branch and Click on "Create Records".

18. Select and enter the following information in "New Create Records".
[Label] – [WhatId]
[API Name] – [WhatId]
[How Many Records to Create] – [One]
[How to Set the Record Fields] – [Use separate resources, and literal values]
[Object] – [Task]
19. Select and enter the following information in "Set Field Values for the Task".
●[Field] – [ActivityDate]
[Value] – [{!startDate}]
●[Field] – [Description]
[Value] – [{!$Record.palw__MessageSummary__c}]
●[Field] – [OwnerId]
[Value] – [{!$Record.OwnerId}]
●[Field] – [Status]
[Value] – [Completed]
●[Field] – [Subject]
[Value] – [LINE WORKSログ]
●[Field] – [WhatId]
[Value] – [{!$Record.palw__RecordId__c}]

20. Click "Save" button (the following is optional)
[Flow Label] – [Copy Talk Log]
[Flow API Name] – [CopyTalkLog]
21. Click "Activate" button
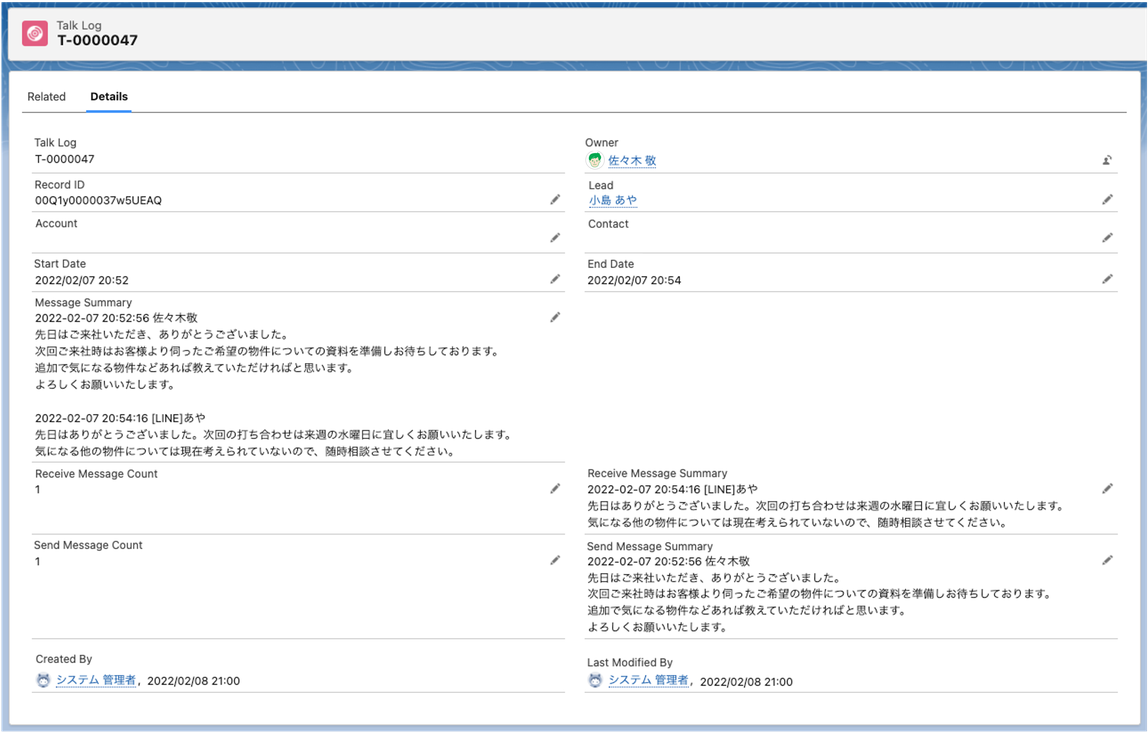
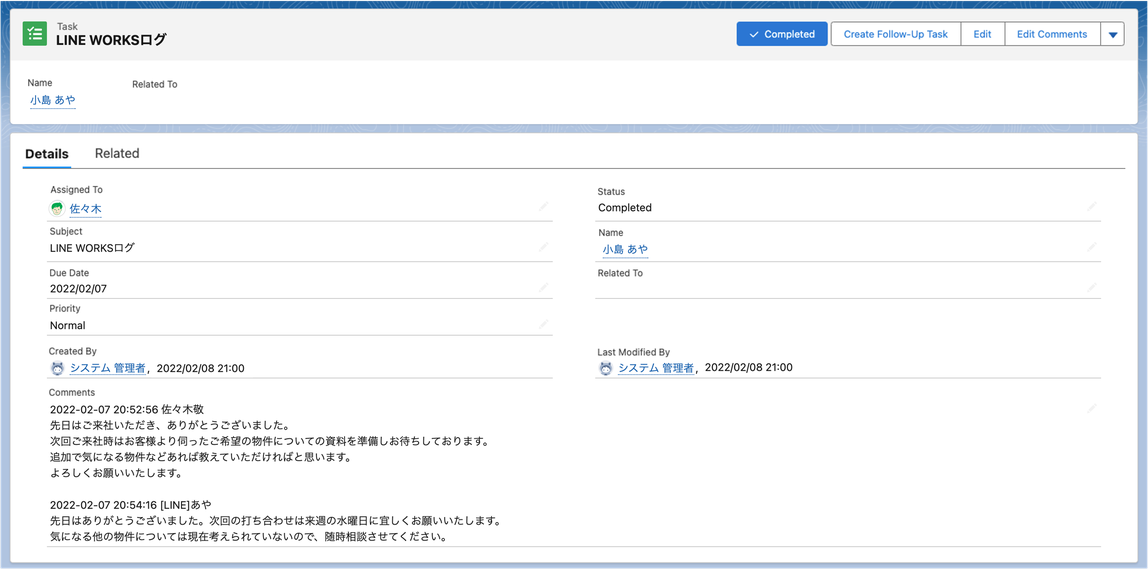
After flow execution
Talk Log record from which it was copied
Task record to copy to
この記事は役に立ちましたか?
0人が役立ったと言っています
ご協力ありがとうございます。